EB2 Quickstart Guide
Important —
Keep your headlights turned on while driving to ensure all Elecbrakes units stay powered on and is operating smoothly.
So you’ve either bought your Elecbrakes Brake Controller from one of our stockists or had it delivered from the online store. Now you have the box in your hand and you’re ready to tow your caravan, horse float, boat trailer, tradie trailer or camper. What next?
From here your steps are simple:
- Install the Elecbrakes Brake Controller.
- Connect to the unit from the smartphone app.
- Adjust your settings.
- If you are using the EB remote, you will need a smartphone to enable the EB Remote functionality.
Table Of Contents
(You can click the links below to jump further down this guide to the relevant section).
- How To Install the Brake Controller
- How To Connect The Brake Controller To Your Phone App
- How to Configure and Test Your Brake Controller
- How To Use The Elecbrakes Remote Control
- Full Elecbrakes EB2 User Manual
How To Install the Brake Controller

One of the reasons people love Elecbrakes is because of how easy it is to install. You can either follow the steps below or check out our dedicated installation page.
To install the brake controller:
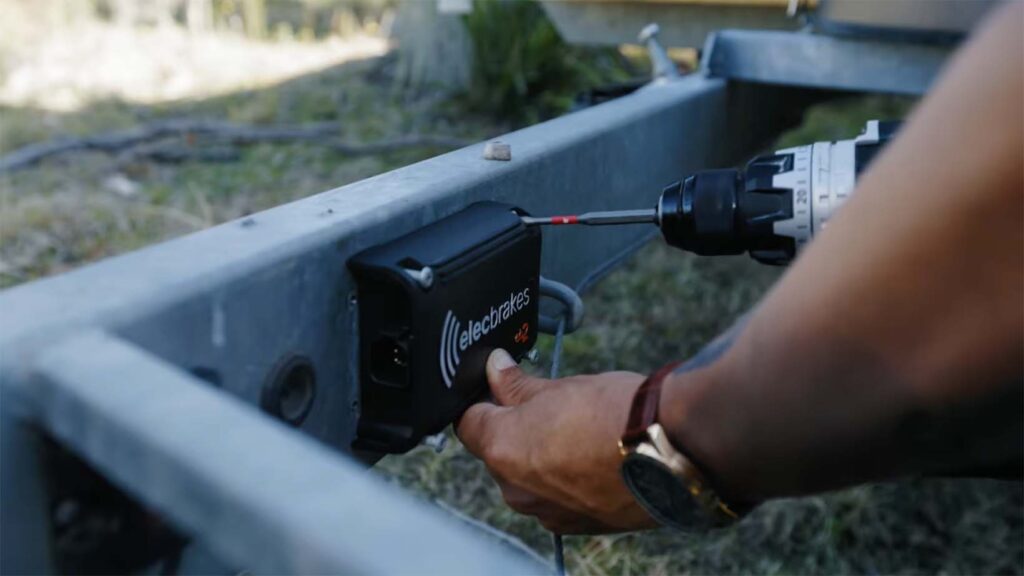
1) Mount the brake controller to the draw bar of your caravan/trailer
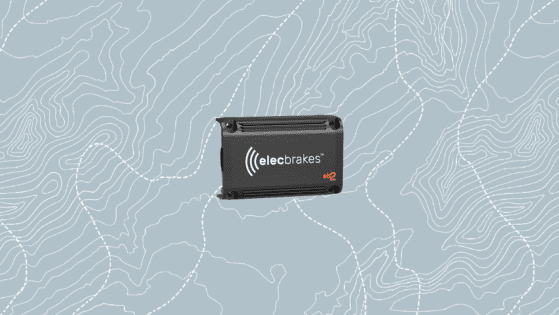
You can do this on any orientation you want as long as it has one edge or face parallel to the ground. The recommended mounting position is on it’s side against the side of the draw bar. Simply screw it to the draw bar using the provided self tapping screws and an electric drill.
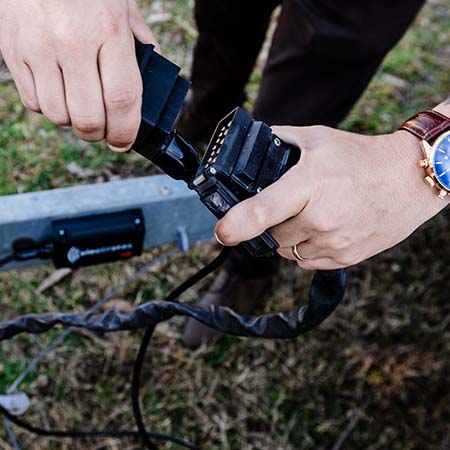
2) Plug the “Plug + Play” Adaptor into the brake controller
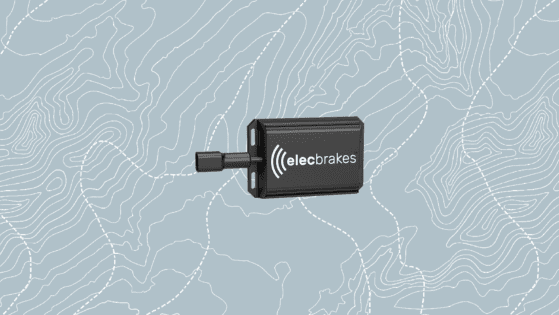
One end of the “Plug + Play” adaptor is a small square plug (called a Deutsch plug). Plug this into the socket on the brake controller.
3) Plug the trailer plug into the “Plug + Play” Adaptor socket
Take the cord that comes out of your caravan/trailer, that you would normally plug into the back of your vehicle, and instead plug it into the socket end of the adaptor (the end with holes rather than pins).
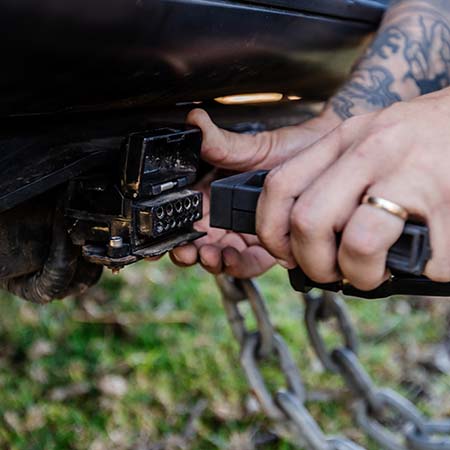
4) Plug the other end of the “Plug + Play” Adaptor into the tow vehicle socket
Finally, take the remaining end of the “Plug + Play” Adaptor and plug it into the socket on the back of your tow vehicle.
How to connect the Elecbrakes EB2 brake controller
Now that you’ve got the brake controller mounted to your caravan, horse float or trailer, the next step is to connect to it with the Elecbrakes smartphone app. Heres how:
- Elecbrakes EB2 comes with the a TAP + TOW functionality. It’s quick and easy. Simply tap your phone on the Elecbrakes logo to download the app.
- After downloading the app, please follow the onboarding steps on the app.
- It will lead you to a Welcome page, where you will choose your unit.
- If your unit is Elecbrakes EB2, simply choose the Elecbrakes EB2 image and tap your phone again on the Elecbrakes logo to pair your device.
- You can add device manually if you prefer.
- With your Elecbrakes EB2 unit mounted and plugged in, sit in the driver’s seat of your vehicle and turn on your car.
- Switch your headlights onto full beam. Not high beam, just the full manual setting. As opposed to the automatic setting where the lights turn on and off depending on light levels, or the parkers. See below for an explanation of why you need headlights on.
- Follow the steps of our onboarding on the app to adjust your settings.
Why do I need my headlights on?
The power supplied to the caravan/trailer by having your headlights on is what powers up the Elecbrakes unit. Failure to activate the taillight circuit (by having your headlights on) when using Elecbrakes results in a more aggressive braking response. This is a safety function of the device. Without taillight power, Elecbrakes draws power from the brake light circuit, so that you always have brakes. The aggressive response is a reminder that your headlights are not on, or that you have lost taillight power.
If you don’t want to keep your headlights on while driving, Elecbrakes can also be powered by an auxiliary power supply from the battery of the vehicle, which can be wired up to either pin 2 on a 7-pin flat socket, or pin 9 on a 12-pin flat socket.
If you have a late-model 4WD you may find that this is already wired up in your car. If not, it’s a simple adjustment to have made by an auto electrician. To check whether you have auxiliary power available currently, you can connect your brake controller to the phone app, click on the data tab, and then look to see if the indicator light is activated next to the word “auxiliary”. See below for more info about the data tab in the app.
How to Configure and Test Your Brake Controller
The next step is to set up your brake responses.
- Go onto your settings and select Program 1.
- We recommend you to set up the Minimum Brake Response first. To set the minimum response: Drive slowly, approximately 20km/h, and apply the brakes as lightly as you can. The optimal minimum setting is usually when you can just barely feel that the trailer is braking. Experiment with small changes until you are happy with the feel.
- After the minimum brake response, it’s time for your forward response. To set the forward response: Drive at 40-50km/h and brake firmly. The optimal forward setting is when the tow vehicle and trailer brake as one. Experiment with small changes until you are happy with the feel of the forward brake response.
- Now, it’s time for the reverse response. To set the reverse response: Reverse slowly and apply the brakes. The optimal reverse setting is when the tow vehicle and trailer brake as one. Experiment with small changes until you are happy with the feel of the reverse brake response.
If you need help adjusting your settings, simply visit our YouTube playlist.
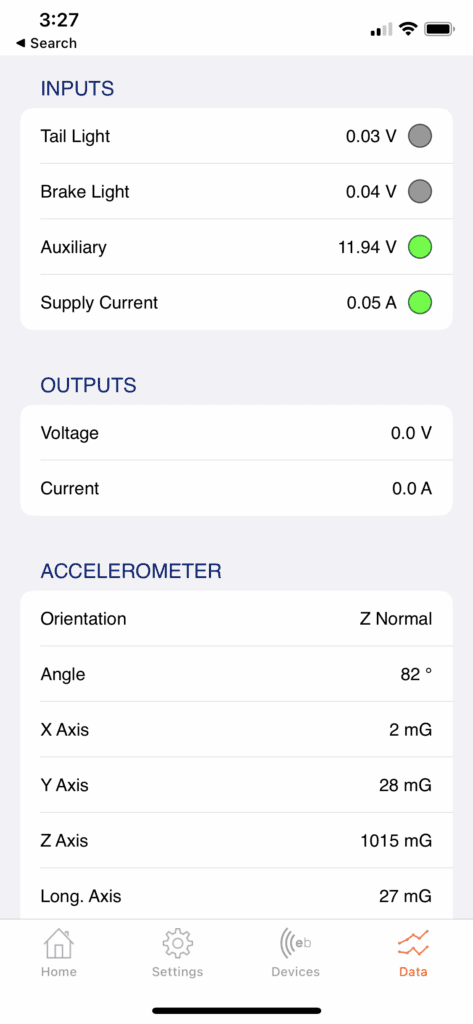
Click on the ‘Data’ Tab. You should now see something like the image below.
The “VOLTS IN” section is showing you how much voltage is being received by the brake controller. You want to see a number here that is at least 10 or above. The numbers you can see in the image above with a reading and a green light next to “tail light” is what you should see when you have the Elecbrakes unit connected with the headlights on. It means that the tail light circuit on the trailer/caravan is being lit up by the headlights and is supplying voltage to the brake controller.
If your vehicle has auxiliary power available, you should see a number and a green light next to “Auxiliary” as well.
Now press the brake pedal of your vehicle down fully. You should see a number and a green light appearing next to “Brake light”. This means that the Elecbrakes brake controller is also receiving power via the brake light circuit.
If both the Tail light (or Auxiliary if you have it) and the Brake light readings are 10 or above, you’re all good to go! If the numbers are not showing up or they’re too low then please give us a call on 1300 516 248 for troubleshooting.
To configure your minimum and forward response settings, please read the “Getting Started” section of the Elecbrakes EB2 User Manual.
How To Use The Elecbrakes Remote Control
Regardless of whether you intend on using the remote control or the phone app as the primary means of communication with the Elecbrakes EB2 brake controller while on the road, you will need to start the settings with the Elecbrakes app to activate the Remote functionality.
To use the remote control, you will first need to disconnect the Elecbrakes app on the phone. This is because all the Elecbrakes unit can only be connected to one app or remote at a time. If you try connecting on the remote control and it isn’t finding the unit, this could be because the smartphone app is still running and connected in the background.
The remote needs to be kept plugged in to the USB or cigarette lighter port of the vehicle at all times to keep the power on. We recommend mounting the remote control on the dash with a phone holder or other commercially available accessory holder.
For full information on the operation of the remote control please read the “Remote Guide” section of the EB Remote User Manual.
Important —
To activate the manual override brakes using the phone app, tap the large circle on the homescreen. Your brakes will now be activated. Tap again to turn brakes off. This override braking should only be used if needed (when experiencing caravan sway) and should only be tapped on and off quickly, applying a brief moment of brake activation. Many trailer/caravan users will never need to use the override brakes. If you do use them, always remember to tap them off again quickly after use. If you were to leave the override brakes on by tapping the circle and then not tap them off again, and then continue driving, you would be at risk of damaging your trailer brakes.
Proudly Designed and Made on the Central Coast
At Elecbrakes, being “Australian made” is more than just a label—it’s a commitment. Based on the Central Coast, we design and manufacture our brake controllers locally, ensuring each unit meets the highest standards of quality and durability. Built to withstand Australia’s toughest road conditions, both the EB2 and VM1 represent our dedication to innovative, reliable towing solutions you can trust.
